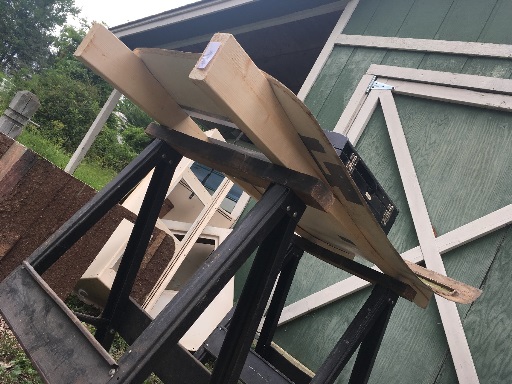
Scamps are nice little campers. But their Achilles heel is the door. Some folks never have any problems. Others have alignment issues ranging from not sealing well (drafts, leaks) to popping itself open going down the road. The hinges are clever but not durable. The latch and pin lock is just, well, rinky dink. My door had a crank window. Opened more than a couple inches it hit the shell. It didn't break the window but did nick its hide. My door rebuild addresses these issues.
As a test the worn out hinges were recently replaced. I happened to have a new pair of factory hinges. The design is actually kinda clever. Because the door is so curved the hinge bolts are not inline like house doors. Instead, a brass ball allows each hinge arm to rotate off axis as the door swings open and closed. Of course rotation causes wear.
For test purposes I didn't install them that way. Instead, they were shimmed more vertical using washers. While not perfect the two hinges were better aligned with each other. That reduced ball rotation noticeably. Which in turn reduces wear. A step in the right direction.
Ideal shims under each hinge should eliminate off-axis rotation of the hinge balls altogether. However, soft brass still wears quickly. I just wasn't happy with factory hinges. So I found stainless steel strap hinges. The trick was figuring out the right wedge geometry for alignment. I took angle measurements of the shell upper and lower hinge locations. Then prototyped wedges using wood. It took a couple iterations to get free swinging action without binding.
A template of the shell profile helped finalize the solution.
Given wood prototypes, wedges were reproduced using Delrin. That's a nylon material with good properties. I had some 1/2" thick black sheet stock. Two wedges were stacked on the bottom to build up enough thickness. As a finishing touch excess material was trimmed away around the hinges.
I wanted things as inconspicuous as possible. The carriage bolts were reversed so heads were on the outside. Besides a cleaner look that also reduces tampering for security. Tee nuts keep the inner surface fairly flush to minimize sealing problems between the door and jamb. Sturdy ribs on each side of the door were another key feature. Door curvature was based on the profile template. A 2x4 offered enough width for all three jamb side bolts on both hinges. Just enough depth to act as bulkheads. Plus a plumb inner surface to shoulder washers and nuts for the carriage bolts.
To rebuild the door it was disassembled. That meant scraping off the vinyl covering inside. The inner fiberglass skin was detached with a cutoff wheel around the perimeter.
The old door was heavy. Sandwiched between the inner and outer fiberglass skins was fibrous sheathing. (Celotex?) I don't even know if anyone still sells/uses that material anymore. Structurally, it's contribution was zilch. Not much insulation either. Moreover, that core "stuff" (ahem) was water logged.
That stupid window leaked! Once all that crap was removed the outer door skin didn't weigh much at all. The old window hole was fiberglassed over. Good riddance! The remaining outer skin was pretty flimsy at that point. Which was good. Because it needed to be reshaped anyway. The door was flatter than the shell. It fit okay in the middle, between and hinges and around the latch. But the top and bottom edges both had considerable gaps. That's where the other side of the 2x4 ribs served as forms for the door.
The template was used yet again to make a few plywood ribs. Those were first epoxied into the inner skin along with strategic blocks to support hinge bolts and a new latch.
Foamboard was then stuffed between the ribs. Aluminum duct tape helped form edges. Combined with foil facing the foam itself was protected from being attacked and dissolved by resin. Fiberglass cloth was used to build a new inner surface.
Once rebuilt the door was lined up with the shell opening and new holes drilled for the hinge bolts. But I still wasn't happy with the fit. For some reason I thought the door needed to be over arched. Nope.
No problem. It was tweaked a bit flatter with a few relief cuts to better match shell curvature. Alignment was then ready to tackle the latch. Measurements were made to cut a rectangular hole and mount the new hardware. Alas, a proper RV door latch!
There's obviously more fiberglass bodywork to finish the door, on both sides. The template will get used yet again to build a door jamb to support the strike plate for the door latch. (At this point it's just catching on the fiberglass shell.) The jamb and strike plate will enable fine tuning of the final fit. That detail follows building a new cabinet adjacent to the handle side of the door first.
It's a lot of work. But I wanted a better door. Plus I get the satisfaction of doing it my way. That's worth every penny. And every minute.


